Draw bird drawing kids fun birds build step drawings 2009 wordpress cute guided rich activity directed flying over books site
Table of Contents
Table of Contents
If you’ve ever tried to draw the letter “A,” you know it can be tricky. Getting the proportions just right, making sure it looks balanced, and creating a consistent style can all be challenging. But fear not, with the right techniques and some practice, you can learn how to draw an “A” like a pro.
Pain Points
As humans, we’re naturally drawn to things that are aesthetically pleasing. When it comes to drawing letters, we want them to look just right. But without the proper technique, an “A” can end up looking unbalanced, lopsided, or just plain awkward. This can be frustrating for beginners and experienced artists alike.
How to Draw an A
To draw an “A,” you’ll need a few basic supplies, including a pencil, eraser, and paper. Start by drawing a diagonal line from the top left corner of your paper to the bottom center. Next, draw a diagonal line from the top right corner to the bottom center, forming a “V” shape. Finally, draw a horizontal line connecting the two diagonal lines at the bottom. This creates the basic shape of your “A.”
Next, add a horizontal line across the top of the “V” shape, connecting the two diagonal lines. This completes the top of your “A.” Then, add a small diagonal line from the bottom of the V to the bottom of the right diagonal line. Next, add a diagonal line from the top of the V to the bottom of the left diagonal line, forming a triangle shape. Finally, add a vertical line from the bottom of the triangle to the horizontal line at the bottom of your “A.” You can adjust the proportions and thickness of each line to create the style you want.
Main Points
To sum up, drawing an “A” starts with creating the basic shape using diagonal and horizontal lines. Add a horizontal line across the top of the “V” shape, then create a triangle shape by adding diagonal lines. Finally, add a vertical line to complete the letter. With practice, you can refine your technique and create an “A” that looks balanced and aesthetically pleasing.
Creating Different Styles
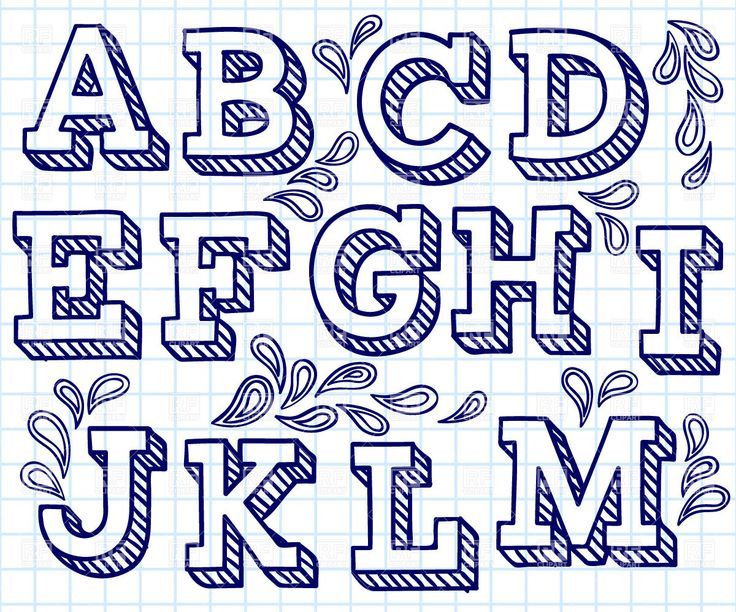
Now that you know the basics of drawing an “A,” you can experiment with different styles to create text that stands out. For example, try adding serifs (small lines at the top and bottom of each stroke) to your letters for a more formal look. Or, try creating a cursive “A” by joining the two diagonal lines with a curved stroke. By playing with different styles, you can find a look that fits your personal aesthetic.
Using Color
Another way to make your “A” stand out is by using color. You can use colored pencils, markers, or paint to add depth and visual interest to your letters. Try using contrasting colors, shading, or gradients to create a dynamic look that draws the eye.
Adding Flourishes
If you want to add an extra touch of style to your “A,” try adding flourishes. These are small decorative elements that can make a big impact. For example, try adding a small loop to the top of the left diagonal line, or adding a curved stroke at the bottom of the vertical line. Just be careful not to overdo it – too many flourishes can make your letters look cluttered.
Question and Answer
Q: How long does it take to learn how to draw an “A”?
A: Learning to draw an “A” can take some practice, but with consistent effort, you can improve quickly. Start by practicing basic shapes and lines, then move on to more complex letters.
Q: What supplies do I need to draw an “A”?
A: To draw an “A,” you’ll need a pencil, eraser, and paper. You can also use colored pencils, markers, or paint to add color or depth to your letters.
Q: Can I create a personalized style for my “A”?
A: Absolutely! Experiment with different styles, including adding serifs, creating cursive letters, or adding flourishes. Find a look that fits your personal aesthetic.
Q: What do I do if my “A” doesn’t look right?
A: Keep practicing! It takes time to develop your drawing skills, and even experienced artists make mistakes. Don’t get discouraged – just keep trying, and you’ll improve over time.
Conclusion of how to draw an “A”
Drawing an “A” can be challenging, but with the right technique and some practice, you can create letters that are balanced, aesthetically pleasing, and uniquely your own. Experiment with different styles, and don’t be afraid to make mistakes – it’s all part of the learning process. So go forth and draw some beautiful letters!
Gallery
How To Draw Realistic Looking Anime Kid Baby Boy Face Video Tutorial

Photo Credit by: bing.com / face draw realistic kids boy anime step drawing easy kid baby beginners looking pencil tutorial wise dog slow
How To Draw Faces

Photo Credit by: bing.com / draw step drawing faces learn printable face lessons tutorial worksheets caricature caricatures drawings beginners tutorials kids worksheet cómo dibujo dibujar
Drawing Tutorials | Pencil Drawing Tutorials | Drawing Tutorial

Photo Credit by: bing.com / malen puppy tutoria hunde zeichenunterricht boceto fisch çizimler kolay imgarcade thestylishpeople scontent mad1
DRAW A BIRD! | Draw With Rich

Photo Credit by: bing.com / draw bird drawing kids fun birds build step drawings 2009 wordpress cute guided rich activity directed flying over books site
How To Draw

Photo Credit by: bing.com / draw hands human trick drawing hand easy drawings bad so sketches learning cartoon pencil good basic tricks funny tried results